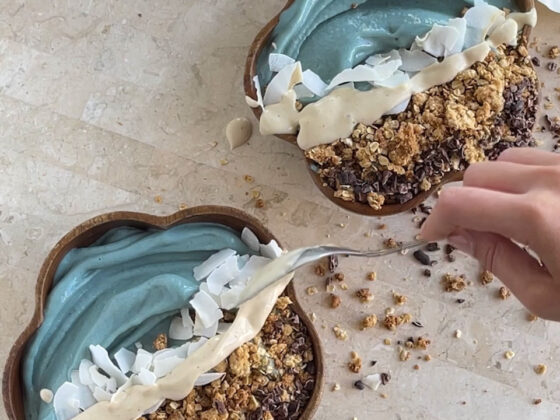
Discover the satisfaction of creating your own creamy and delicious Greek yoghurt with this simple DIY recipe. Say goodbye to store-bought versions and embrace the joy of homemade yoghurt. With just two ingredients and a few easy steps, you can enjoy the pure goodness of this refined sugar-free treat.

RSF | Refined Sugar Free
Ingredients:
- 1L milk
- 2 tbsp yoghurt (as a starter culture)
Method:
- Pour the milk into your yogurt maker or a saucepan and heat it to a specific temperature according to your yogurt maker’s instructions or until it reaches about 180°F (82°C) if using a saucepan.
- Once the milk has reached the desired temperature, remove it from the heat and let it cool down to around 110°F (43°C). This step is important to ensure the yogurt cultures thrive without being killed by excessive heat.
- Spoon the yogurt starter culture into a separate bowl and add a small amount of the warm milk. Mix well to combine the starter culture with the milk.
- Pour the milk-starter culture mixture back into the remaining warm milk and stir gently to ensure it is evenly distributed.
- Cover the container or your yogurt maker with a lid and let it incubate undisturbed for 6 to 8 hours or according to the instructions provided by your yoghurt maker. This allows the yoghurt cultures to ferment and transform the milk into yoghurt.
- Once the incubation time is complete, the yoghurt should be thickened. If desired, you can strain it through a cheesecloth or a fine-mesh sieve to achieve a thicker consistency. Refrigerate the strained yogurt for a few hours or overnight.
- Transfer the homemade Greek yogurt into a clean container and store it in the refrigerator for up to 2 weeks. Enjoy it on its own, with your favorite toppings, or use it in various recipes.
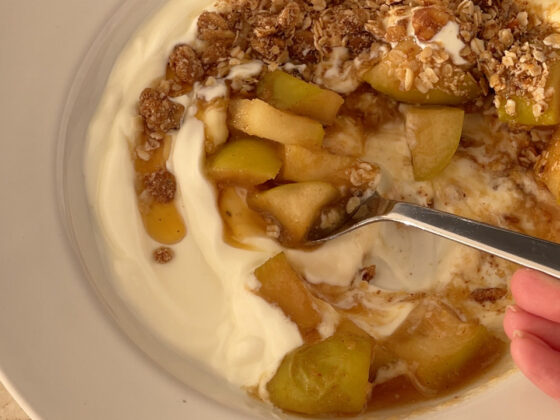
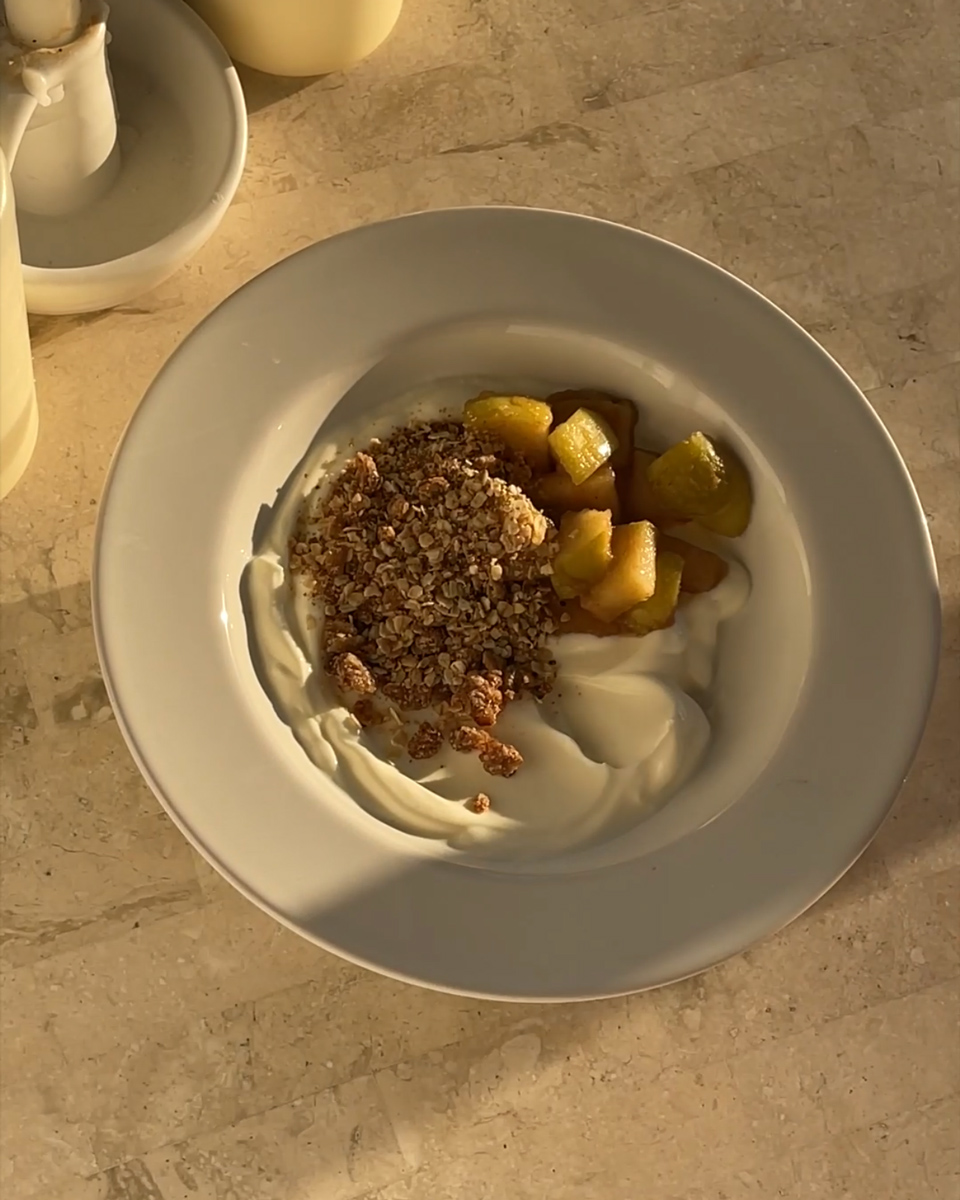
Try this apple crumble yoghurt bowl recipe with your home-made yoghurt.
Watch how to make it here

DIY Greek Yoghurt
12
servings5
minutes2
hours2
hoursIngredients
1L milk
2 tbsp yoghurt
Directions
- Pour the milk into your yogurt maker or a saucepan and heat it to a specific temperature according to your yogurt maker’s instructions or until it reaches about 82°C (180°F) if using a saucepan.
- Once the milk has reached the desired temperature, remove it from the heat and let it cool down to around 110°F (43°C). This step is important to ensure the yogurt cultures thrive without being killed by excessive heat.
- Spoon the yogurt starter culture into a separate bowl and add a small amount of the warm milk. Mix well to combine the starter culture with the milk.
- Pour the milk-starter culture mixture back into the remaining warm milk and stir gently to ensure it is evenly distributed.
- Cover the container or your yogurt maker with a lid and let it incubate undisturbed for 6 to 8 hours or according to the instructions provided by your yoghurt maker. This allows the yoghurt cultures to ferment and transform the milk into yoghurt.
- Once the incubation time is complete, the yoghurt should be thickened. If desired, you can strain it through a cheesecloth or a fine-mesh sieve to achieve a thicker consistency. Refrigerate the strained yogurt for a few hours or overnight.
- Transfer the homemade Greek yogurt into a clean container and store it in the refrigerator for up to 2 weeks. Enjoy it on its own, with your favorite toppings, or use it in various recipes.
Recipe Video
By making your own DIY Greek yoghurt, you have complete control over the ingredients and the process, ensuring a pure and wholesome product. Say goodbye to store-bought versions filled with additives and embrace the simplicity and satisfaction of homemade yogurt. Enjoy the creamy goodness of this DIY treat, and experience the pride that comes with creating something delicious and nutritious in your own kitchen.